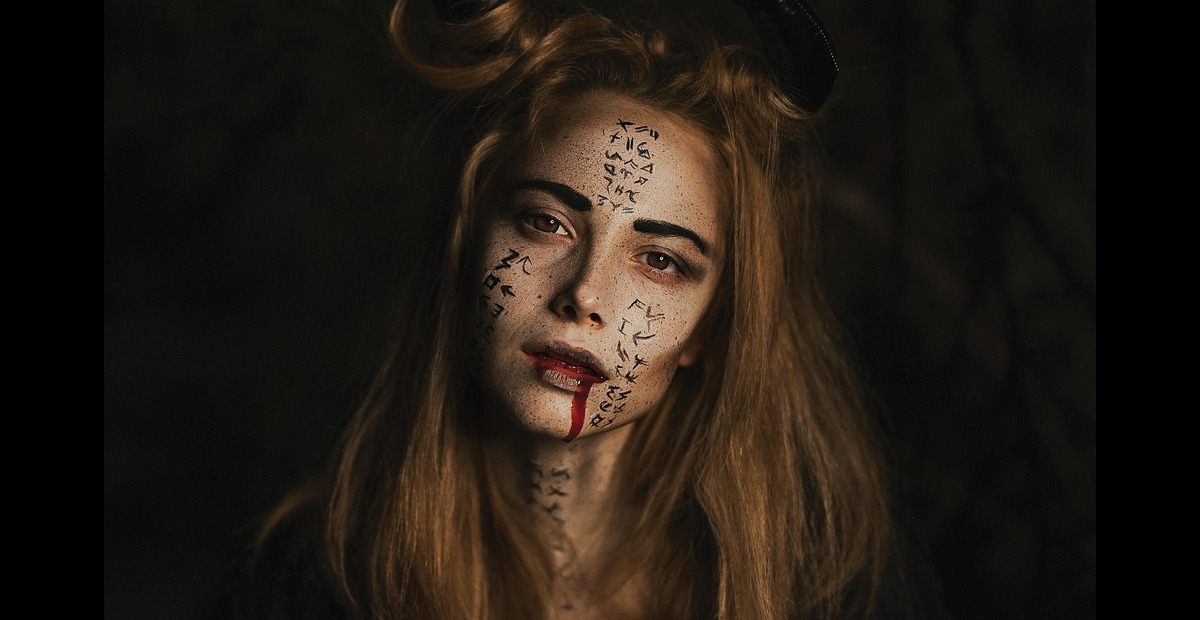
Any other Halloween season makes various people run around to find an appropriate spookily scary look. One of the most popular and easiest options is zombie makeup. It’s gory, fun, and surprisingly easy to do. Thanks to websites like Pinterest, you can find thousands of ideas and inspiration for zombie makeup-from dead looks to full-on grotesque transformations. In this blog post we’re going to take you through simple zombie makeup tutorials that even a zombie newb can do. And by the end you’ll have everything you need to be a Pinterest-perfect zombie!
Preparing Your Face for Zombie Makeup
Before the makeup, proper preparation is the key to get the best result. Here are some steps in preparing your skin ready:

Step 1: Cleanse and Moisturize
Clean your face with a mild facial wash to clean off all the grease and grime accumulated on the skin. Moisturizing is just as essential, as dry skin on which makeup has been applied may lead to flaky, bumpy skin. Well-moisturized faces allow makeup to sit smoothly and last longer.
Step 2: Apply Primer
Priming your skin will ensure that your makeup will hold on to your skin and last you through your Halloween party. Choose a primer based on your skin type and apply an thin, even layer across your face.
Basic Zombie Makeup Materials
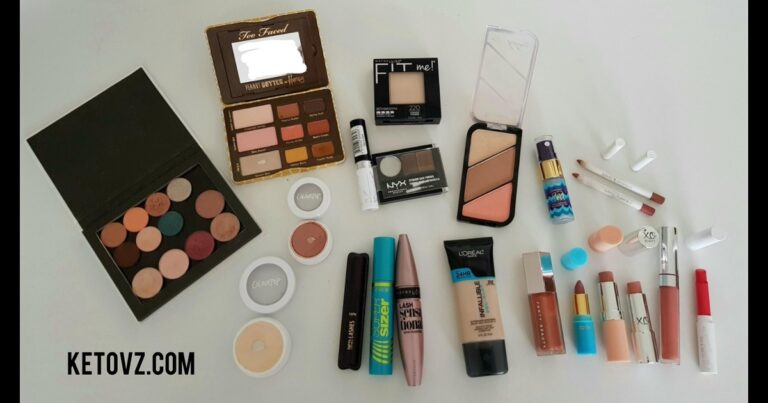
Before you get started, make sure you have these basic materials. These products can usually be found in most pharmacies or online and many of the tutorials on Pinterest incorporate them.
White Face Paint or Foundation: You’re going to require a white or extremely pale base for that undead effect.
Gray and Green Eyeshadow: These will give you the cadaverous, decomposing look.
Fake Blood: No zombie is complete without a little fake blood! You can buy it or even make it at home.
Black Eyeliner or Eye Pencil: This can be used along with eyeshadow to produce hollow, sunken eyes, which enhance your illusion of death.
Liquid Latex (Optional): Use some liquid latex to create your wounds or scars. You might also want to add a few to really make it dramatic.
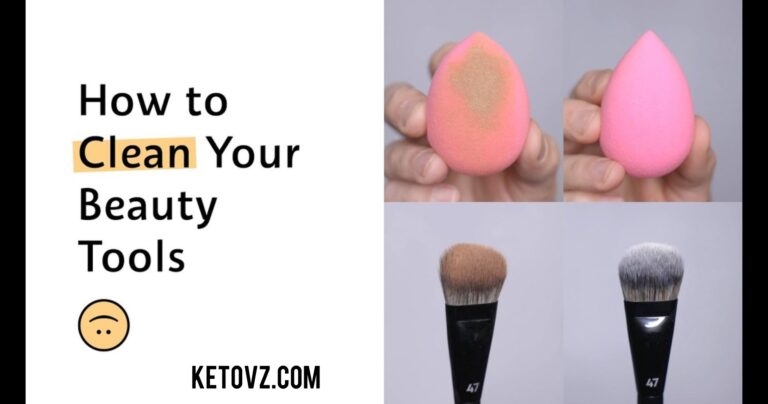
You’ll need sponges and brushes to apply your makeup evenly.
How to Create Simple Zombie Makeup
Now, let’s break into a simple zombie makeup tutorial that is perfect for beginners and will give you the appearance of crawling straight out of a graveyard!

Step 1: Create the Base
The basic canvas for any zombie makeup comes with the requirement of creating a pale and ghostly color.
Apply White Face Paint or Foundation: Using a makeup sponge or brush, apply face paint or very light foundation to your face. Your skin should now be a ghostly pale in color, and you should want it to spread well onto your neck and ears.
Add Gray or Green Eyeshadow: To get the decayed look, apply some gray or green eyeshadow on the cheekbones, eyes, and forehead. Pat this where you put the white foundation, focusing more on hollow spots like the cheekbones and under your eyes for that sunken look.
Step 2: Hollowing the Eyes
Zombie eyes are supposed to look dark and sunken. Here’s an easy way to get the look:
Use black eyeshadow to paint all areas of your eye, from eyelids, under the eyes, and onto the brow bone. Taper the sides to create a delicate, smoky effect.
Layer with Purple or Blue: To add a realistic aspect, you should dust with purple or blue eyeshadow around the black, especially under the eyes and over the eyelids. It could create an impression that veins or even blood is pooling beneath the skin.
Step 3: Adding Decayed Features
Now is the time to give your zombie a look like it has been rotting for decades. Here are a few simple ways to give that decaying effect:
Contour with Gray and Green: Use gray and green eyeshadow to contour your face. Rub it onto your cheekbones, jawline, and temples so that it makes your face sunken-looking and gaunt.
Smudging and Blotching: Run your fingers or a sponge over some green or yellow eyeshadow, blending it slightly spotty across your face. This’s good for that decaying effect that’s gonna leave your skin looking uneven and unhealthy.
Step 4: Wound Effects (Optional)
If you want to take your zombie makeup to the next level, you can make easy wounds or scars.
Using liquid latex: Place tiny beads of liquid latex in the regions you would like to have wounds or scars. Let it dry a little and pick at it, which should cause the skin to tear or peel. Use red and black eyeshadow around the wound to make it appear bruised and finish with fake blood.
DIY Tissue Wounds: Don’t have liquid latex? No big deal! You can use tissue paper and glue. Place a few bits of tissue on your skin with a bit of glue, then tear or cut into it to give that appearance of open wounds. Paint over it with foundation and add fake blood for the realism.
Finishing Touches for Your Zombie Look
Step 1: Adding Fake Blood
Now that the base is set, it’s fake blood time—this is the best part, right?
Place the drips and smears all around your mouth, neck, or open wounds. In both you have to let the blood drip down your face naturally because that will look more realistic. For the smears, just wet a sponge in your fake blood and dab lightly or drag it across your skin.
Teeth Effect: For the final touch, just dab a little fake blood near your teeth and mouth. No worries, don’t swallow!
Step 2: Disheveled Hair
Zombie makeup is not complete without a messed up hair. Just take out your hair brush and tease it. Then dust some dry shampoo at it to give it a dusty and dirty look. You can also dab in little drops of hair gel to make it look pretty greasy and whatnot.
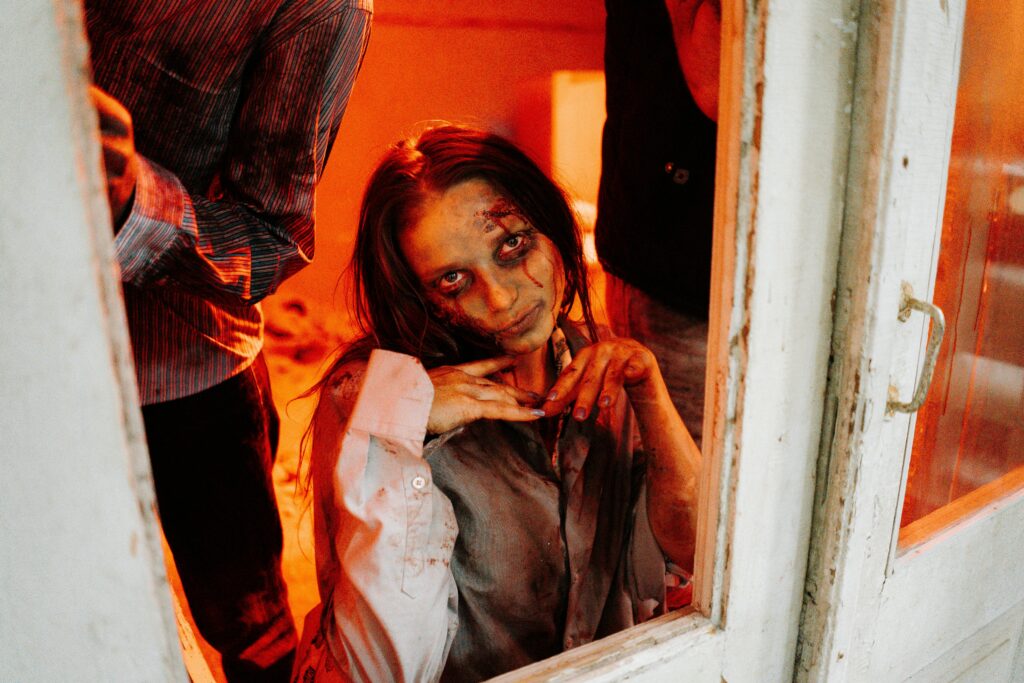
Pin-Inspired Ideas
You can simply add your personal twist on some creative makeup variations of zombies from Pinterest. Here are a few different styles you can try:
Glam Zombie: Dab glue and glitter into your makeup for a glamorous flair. Instead of gray and green tones, opt for soft pinks and purples with some shimmer on them.
Cartoon Zombie: If you are looking for a bloodless version, then you should opt for a cartoonish style that’s more colorful and stylized. Bright greens and blues, hollow distorted eyes represent this look.
Classic Film Zombie: The use of classic zombies in film and emphasize realistic wounds and blood splatters. You can even employ liquid latex to provide peeled off skin with exposed bones.
Final Words about Achieving Flawless Zombie Makeup
Practice Beforehand: Zombie makeup is relatively straightforward, but it does require some practice before the event. This will enable you to familiarize yourself with how to deal with the techniques and tools.
Set Your Makeup: Once you get your zombie look the way you want it, spray a setting makeup spray over it so that it does not fade all night.
Don’t be afraid to get messy: Zombie makeup is supposed to be imperfect. Don’t worry too much about symmetry or blending-messy and smudged adds to the look!

