Makeup brushes are an essential for anyone looking to create a flawless makeup look; however, with time they collect product, dirt, oils, and bacteria. It is really important to wash your brushes not only for healthy skin but also for smooth and professional makeup applications. So, if you’re wondering how to clean makeup brushes the right way, you’ve come to the right place. In this comprehensive guide, we’re going to walk you through the best methods, tips, and tricks on how to maintain your makeup brushes in top shape.
Why Wash Makeup Brushes?
Before learning how to wash makeup brushes, let’s take a step back and reflect why cleaning them regularly is so important:
Hygiene:
Bacteria can hide in dirty makeup brushes, which may cause breakouts, blocked pores, even skin infection. It ensures that you’re not spreading germs around your face and that you are applying makeup on to clean skin.
It also helps in having a better application of makeup. Clean brushes pick up and distribute makeup more evenly, which allows you to have that smooth and more polished look. Dirty brushes tend to make up cakey or uneven.
Extends the Life of Your Brushes:
Cleaning them regularly keeps the integrity of the bristles and, thus, extends their lifespan while keeping your pocket smiling for longer periods.
Now that we know how important cleaning makeup brushes is, let’s learn the step-by-step process on how to wash makeup brushes.
How Often Should One Wash Makeup Brushes?
Well, first off, let’s talk about how often you need to clean those makeup brushes. Ideally:
Foundation and Concealer Brushes:
Once a week. These get used for liquid and cream stuff which can really build up bacteria.
Eyeshadow and Powder Brushes:
Every two weeks. These are dry use brushes so the cleaning doesn’t need to be as often.
Lip and Eyeliner Brushes:
Always clean after use. The brushes used near the mouth and eyes must be cleaned quite frequently due to hygiene reasons.
How to Clean Makeup Brushes Step by Step
Materials You’ll Need
Before you begin your cleaning process, gather all your requirements. You won’t need high-end equipment to do the job, but a few household items will work wonders:
Soap or brush cleaner:
Mild soap, baby shampoo, or a brush-specific cleaner works great.
Warm Water:
Not hot as that hot water might melt the glue that holds the bristles to one another.
A clean towel for drying the brushes
Brush cleaning mat or pad:
A textured mat which can help deep clean your brushes through the friction created for product buildup underneath the bristles.
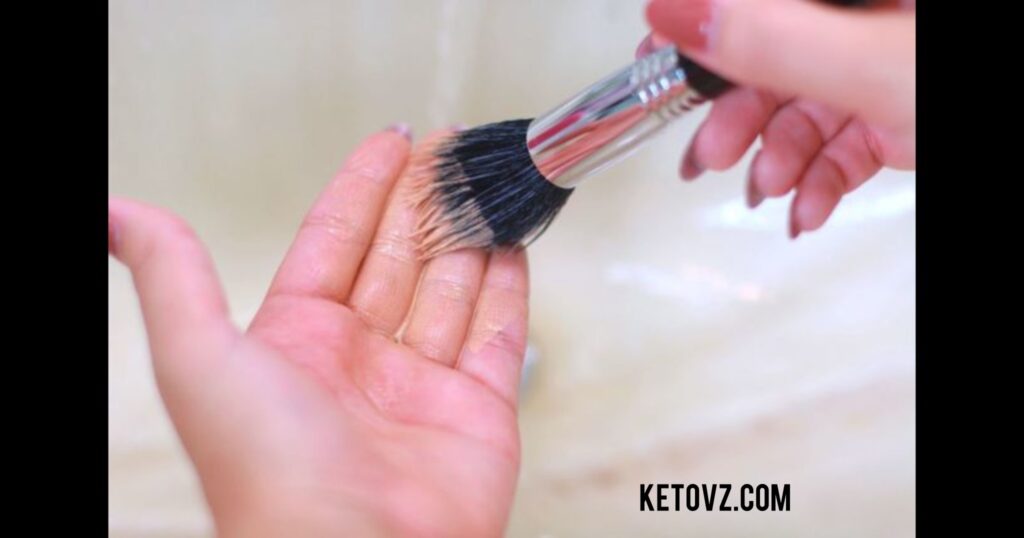
Start by washing the bristles of the makeup brush under lukewarm water. Hold the brush carefully, with bristles downwards so that water cannot penetrate down to the handle and loosen the adhesive holding the bristles together.
3. Add Soap or Cleanser
Once the bristles get wet, add a small amount of soap or brush cleaner directly onto the bristles or a cleaning mat. If using baby shampoo or a similar mild cleanser, use about the size of a pea. Gently massage the bristles with circular motions, either in your hand or on the cleaning mat as you work the cleanser into the bristles.
4. Rinse the Brush
Rinse the brush under warm running water. Allow the water to flow until it is running clear. Put the brush bristles down again. No water should flow down to the inside of the ferrule. The ferrule is the metal part that holds the handle together with the bristles.
5. Repeat if Necessary
Wash the brushes a few times for dirty brushes or for foundation or concealer brushes, as they tend to hold product really well as opposed to powder brushes.
6. Gently Squeeze Excess Water
When the brush is clean, get rid of excess water in the bristles with your fingers. Avoid pulling or tugging on the bristles because it might displace the bristles.
7. Restyle the Bristles
Taper the bristles back to its original shape carefully. It is essential if you do not want your brush to dry bent.
8. Lay Flat to Dry
Place them on a clean towel, bristles hanging down over the edge of a table or counter, so air circulates around the bristles and dries faster. Never stand your brushes upright while wet; you may run the risk of dripping water into the ferrule, which weakens the glue.
Let brushes dry completely before use. This may take a few hours to overnight, depending on the size of the brush.

How to Clean Makeup Brushes: Advanced Techniques
Now you know how to clean makeup brushes; but in order to get the most out of it, here are some advanced techniques:
1. How to Clean Makeup Brushes Olive Oil Deep Clean
If your bristles are particularly grimy, or they have just too much buildup of product that is hard to rinse out, you can combine a little olive oil with the soap or brush cleanser. The olive oil does break down stubborn makeup and makes your brushes feel softer, but you should make sure to rinse right through so there is no oil residue.
2. Avoid Putting the Brush Under Water
Never fully immerse your brush in the water. To do this, it’s prudent to have the ferrule out of contact with the water as much as you can because water could find its way inside and later corrode the ferrule or loosen glue attaching in the bristles. Wet only the brush. You should repeatedly clean the ferrule by drying the brush handle so that the ferrule doesn’t get moist.
3. Spot Cleaning Between Uses
While deep cleaning your makeup brushes is important, giving them a spot clean between uses means they remain fresh. You can buy a spray makeup brush cleaner and a quick-drying brush cleanser that can be kept in your makeup drawer for cleaning on the fly. Spray your chosen cleaner onto a tissue or towel and then gently swipe your brush back and forth to clean.
4. Store Brushes Properly
Store your brushes in a way to protect the bristles. A brush holder or cup is best; this allows you to store your brushes standing upright with their bristles up and not squashed or stretched out.
Some errors in the entire steps for learning how to clean makeup brushes happen:
these are the issues that people get rid of so that their brushes will stay clean and fresh for a longer time:
Harsh cleaners:
Be careful about using household cleaners or detergents that are too rough. They can strip the natural oils from your bristles and make them dry up, thereby fragile and shedding terribly.
Haste makes waste:
Do not succumb to the temptation to bypass steps or rush through the procedure. It really does take a bit of time to clean those brushes correctly, but this will ensure you get all the product and bacteria out of your brushes.
Don’t let brushes dry improperly:
As mentioned above, use a flat surface for your brushes to dry on. If you allow them to stand upright, the water may run down the handle loosening the glue eventually.


